MFA - How To Set Up MFA
⏮ Go Back to MFA Index 💻 https://servicedesk.roehampton.ac.uk/support/solutions/articles/50000181891
Enabling MFA
-
❗ We recommend setting up as many verification options as you can. For instance, you can configure the Microsoft Authenticator app, add your mobile phone number, add a backup phone number (another mobile, a landline, etc) and set up additional security questions. Having more than one option set up gives you a backup and ensures you can regain access to your account.
You'll need to choose the Microsoft Authenticator app as your default method to verify your account. It's the most secure method and can also provide a verification code even if your device isn't connected to a mobile network.
You will need to download and install the Microsoft Authenticator app (available for Android and iOS) on your mobile device.
The following guide explains how to set up MFA using the authenticator app.
On your PC / Laptop
On your Mobile Device

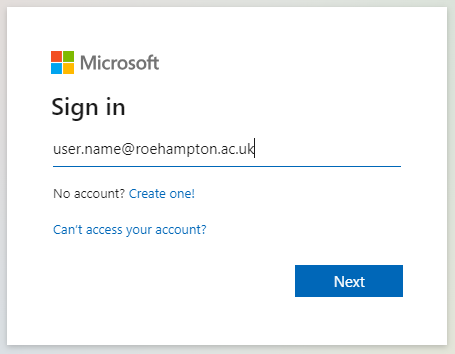
Step 1: Open your Web Browser and visit this URL:
Step 2: Enter or select your account information and click the Next button.
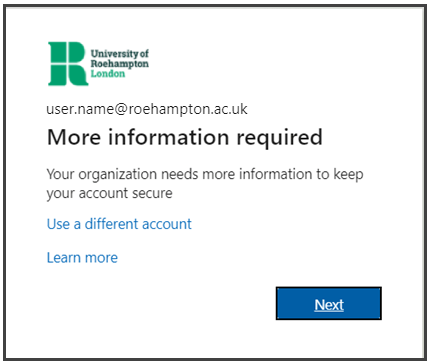
When prompted for “More information required” click the Next button:
Step 3: Click the Next button to use this default method.
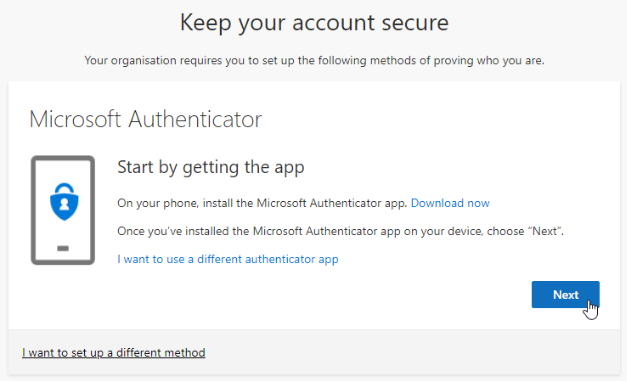 Step 3: Install the Microsoft Authenticator app on your Mobile Device.
For Android, scan the QR code or 💻click here

For Apple, scan the QR code or 💻 click here.

❗Further information can be found here:
💻 https://support.microsoft.com/en-gb/account-billing/download-and-install-the-microsoft-authenticator-app-351498fc-850a-45da-b7b6-27e523b8702a
Step 4: Click the Next button.

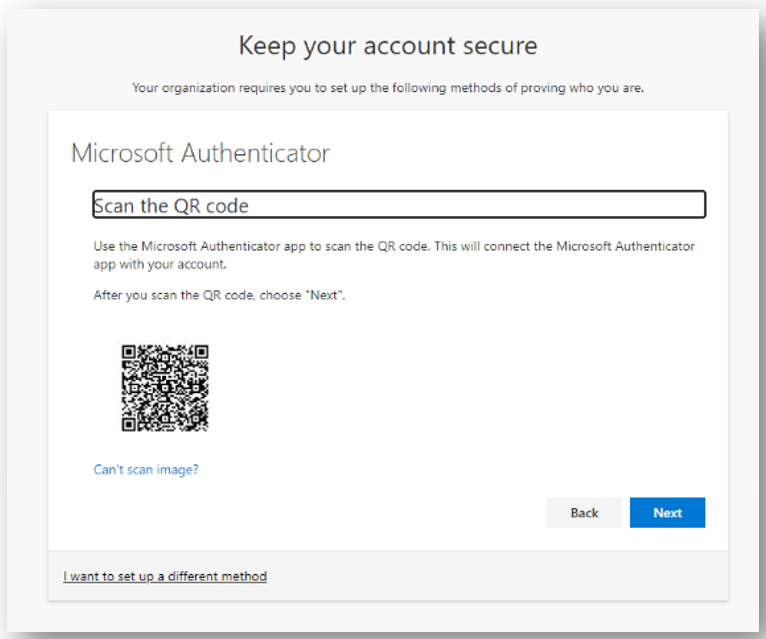
Step 5: Once you have reached this page leave it open on your screen and pick up your mobile device.
 Step 5: Open the Microsoft Authenticator on your mobile device:
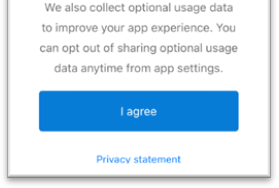
If this is the first time you've used the authenticator app, select I agree button.
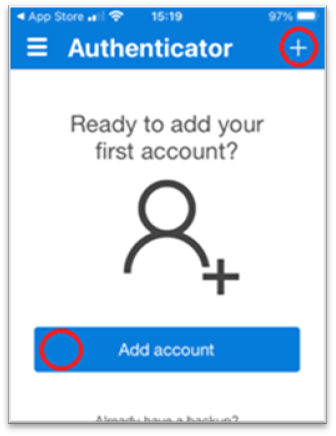
If you've used or opened the application before, select Add Account OR press the + button.

 If this is the first time you've used the Authenticator app...
1. Select the "I agree" button

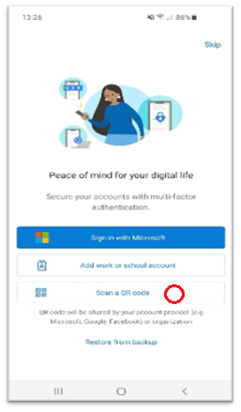
2. Select Scan a QR code
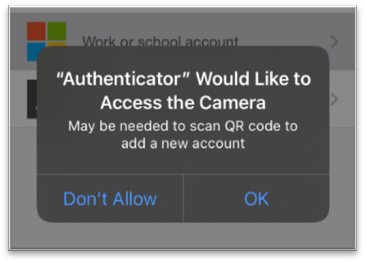
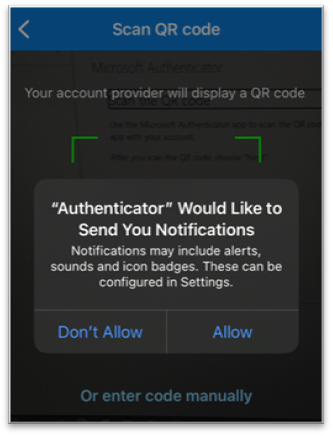
If you see the message “Authenticator" Would Like to access your Camera press the OK button.

 If you've used or opened the Authenticator app before...
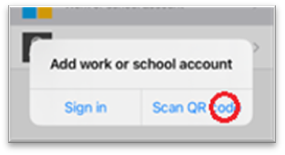
1. Select "Add Account" or press the + button.
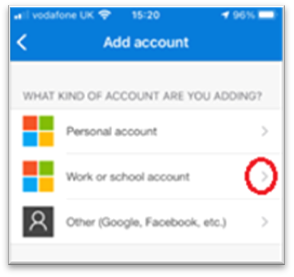
2. Select Work or school account
3. Select Scan a QR code
If you see the message “Authenticator" Would Like to access your Camera press the OK button.
Setup continues...
On your PC / Laptop

On your Mobile Device

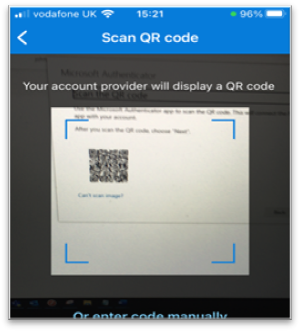
 The "Scan QR Code" function in the Authenticator App will now open.
Point your camera at your desktop or laptop computer
to scan the code that appears there.
❗ Please do not scan the code shown in this document! ❗
You must scan the code that is shown on your own computer screen.
 Once you have scanned the code, click Next.
When you see the message “Authenticator” Would Like you to send Notifications select the ALLOW button.
Once you have scanned the code, click Next.
When you see the message “Authenticator” Would Like you to send Notifications select the ALLOW button.
 After a moment, your web page should continue to complete the login process.
A notification screen will open asking you to Approve sign in.
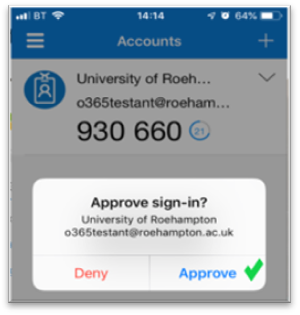
Select Approve.
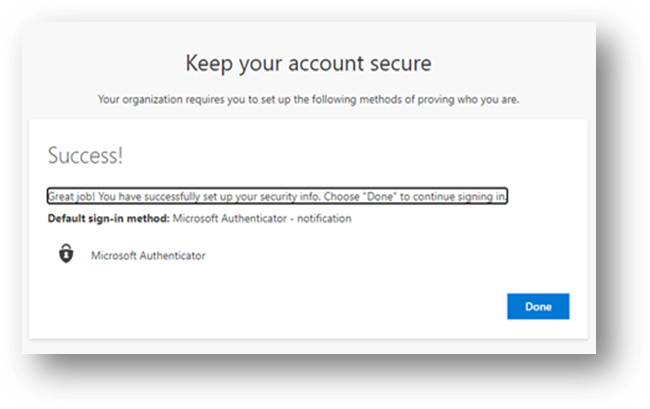
Once you have approved the notification, click Next

You have now successfully registered for MFA via the Microsoft Authenticator app 😊
Adding Additional Sign-in Methods
❗ You must add as many authentication methods as you can. This is critically important.
If you want to add another device which has the authenticator app installed, you can do this
...and in either scenario select Authenticator App and follow the steps above.
Adding Extra Authentication Methods
When you register, you can choose a primary authentication method and update it any time at this link:
💻 https://mysignins.microsoft.com/security-info
The University recommends using Mobile Notifications from the Microsoft Authenticator app.
❗ It's a good idea to set up multiple verification methods - as many as you can - so you always have a backup.
You can choose from the following authentication methods:
Verification Method
Description
Mobile Notification (Microsoft Authenticator Application Required)
A notification will pop up on the app asking you to approve or deny the login. Simply tap "Approve" to continue. (This option is recommended for international users)
Verification Code (Microsoft Authenticator Application Required)
The Mobile Microsoft Authenticator app generates a code that changes every 30 seconds. Enter the latest code on your computer's sign-in screen.
Text Messages
You’ll receive a text with a 6-digit code. Enter this code to complete the login process.
Phone Calls
You’ll get a call on your phone. Press the # key to confirm and complete your login.
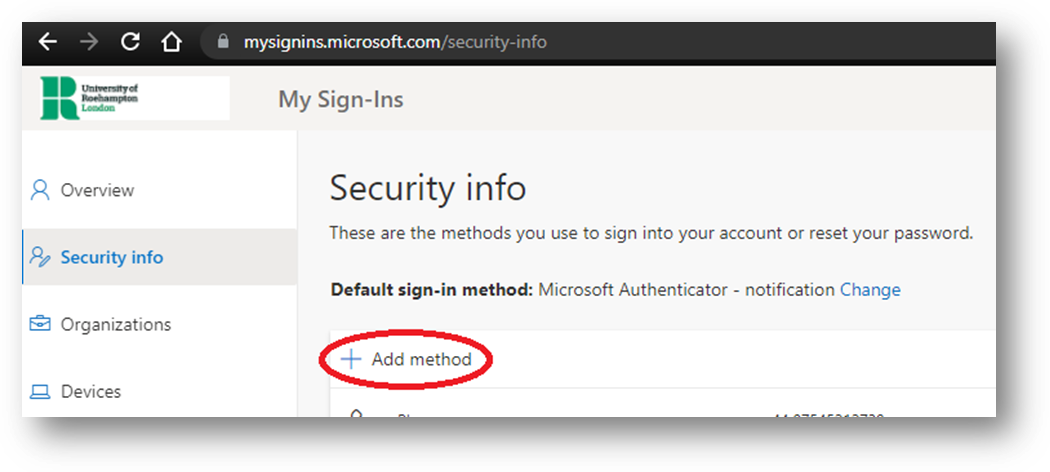
To update your authentication settings, visit the Microsoft Security Info page
💻 https://mysignins.microsoft.com/security-info
On the Security Info page, click "Add sign-in method" to select additional authentication methods:
